DIY Guide: How to Tell if Hot Water Heater Element is Bad

Want to know if your hot water heater element is bad? Just keep reading as I have a simple test that you can do to find that out and also replace it.
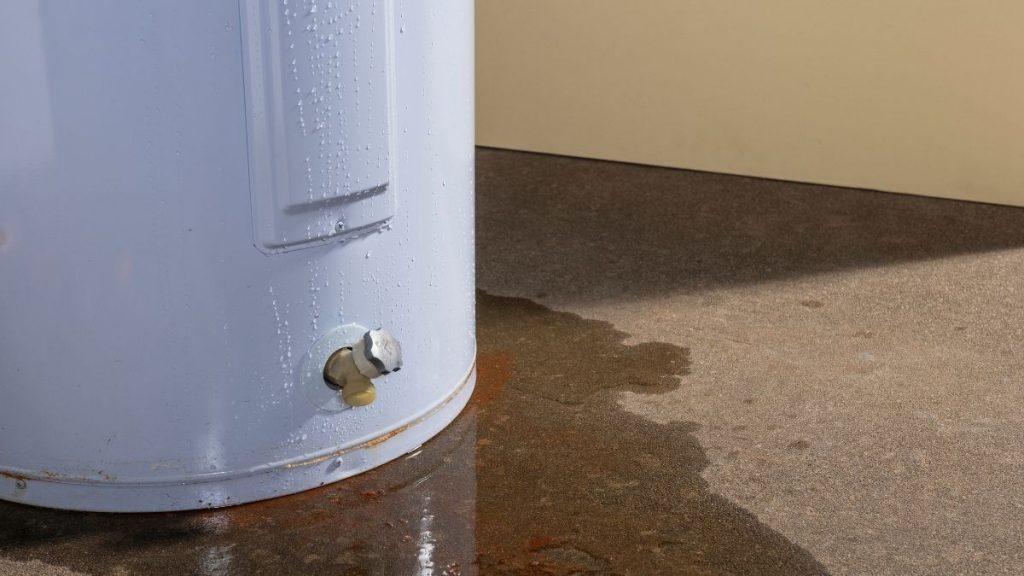
The biggest tell-tel signs of water heater element going bad are if your water is not as hot as you had set, getting lukewarm water, not enough water or running out of hot water fast, no hot water at all and frequent tripping of the circuit breaker. It’s very likely for the water heater element to have gone bad if one or more of the above signs shows up.
It’s morning and you are taking the shower but this is the third day in a row when the shower isn’t hot enough. Worst yet, you are surprised by a blow of cold water that left you wondering “Has my water heater element gone bad? “.
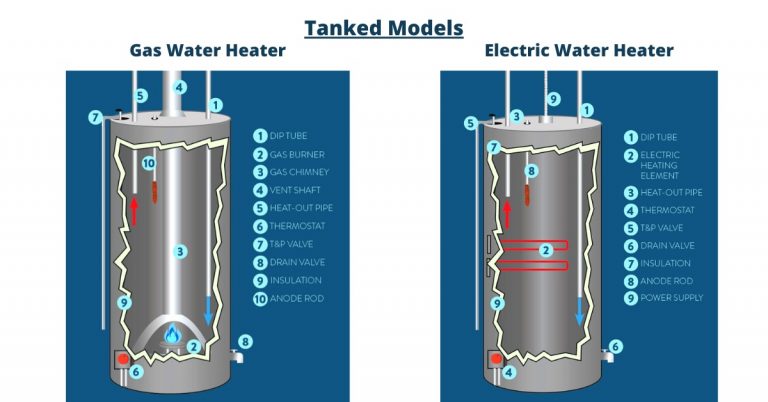
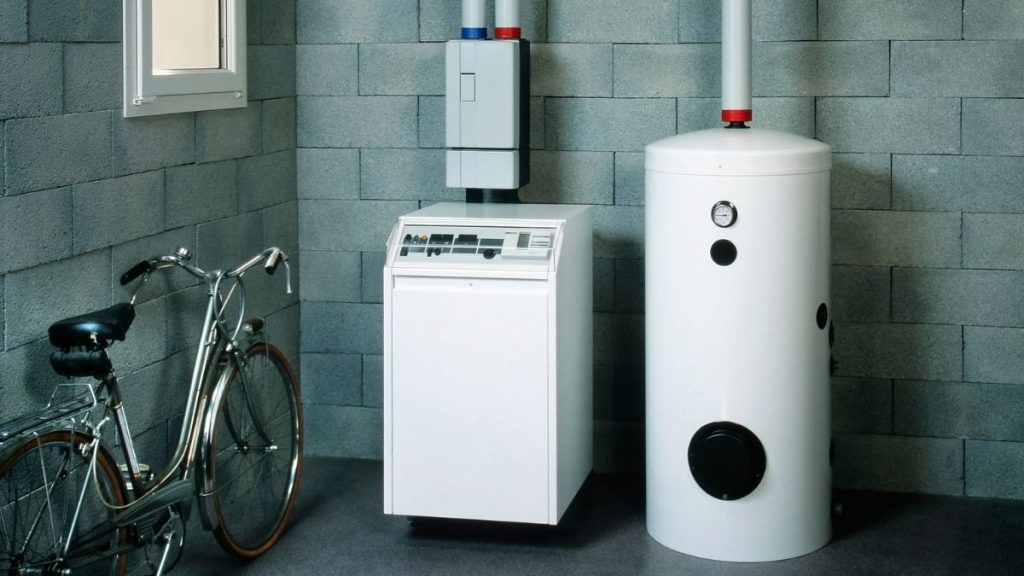
That said, most large-size tank water heater features two heating elements one at the top and another at the bottom. Usually, I have found that the bottom element goes bad first but the top one can break too. Depending on the element that has gone, it shows slightly different signs such as
The top heating element has gone bad if:
- No hot water is coming
- Or service breaker is tripping
The bottom heating element has gone bad if:
- Not enough hot or lukewarm water
- Less amount of hot water
Whichever element may have gone bad, the process to actually test that out and replace it is pretty much easy and shouldn’t be a big task even for novice DIYer. All you need is a few tools and you are good to go.
So let’s get started on this.
Steps: How to test if hot water heater element is bad
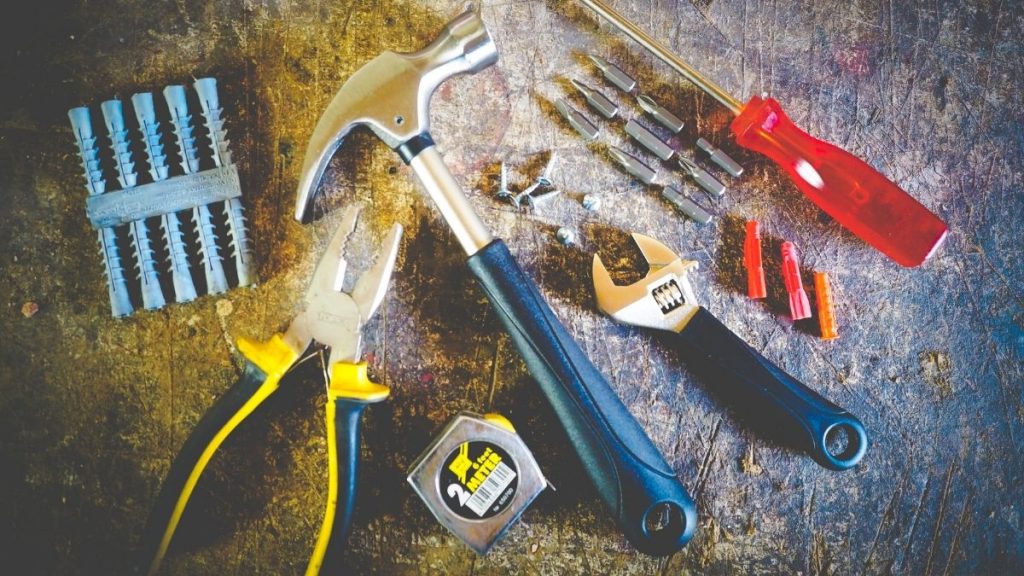
Tools required
Step #1 Shut off the power supply
From your service breaker panel, shut the electric supply to your water heater. You should be able to find the breaker labeled for the water heater. If there is no labeling then OFF the supply to the whole house using the big breaker above that.
Step #2 Open the side panels to reveal the elements
Now you have disconnected the power supply to the unit, the next step is to open the panels. Most large tank water heater, like 40 gallons, has two heating elements. So you should be able to locate one or two panels on the side of the tank of the water heater.
Unscrew them with the help of a screwdriver and set them aside securely afterward. Now there should be foamy or fiberglass insulation. Remove them without damaging them. Remember you have to put them back later.
Now what’s in front of you is the thermostat at the top and the element at the bottom on each panel.
Step #3 Test the presence of current in the wires
The non-contact voltage detector helps to find out if the wire is live and there’s current in the circuit. It’s for your safety purposes.
So get your voltage detector and touch it to one of the wires. If it lits or beeps that means the wire is live and you have not properly shut off the supply. Go, make sure of properly disconnecting the supply or call the electrician do to this whole task if you are unable to figure it out.
Step #4 Disconnect wires to the element
The heating element is fixed in place with two screws. Also, there should be two wires connected to it. Loosen the screws and remove the wires and slide them aside.
Step #5 Conduct the broken element test with the help of a multimeter
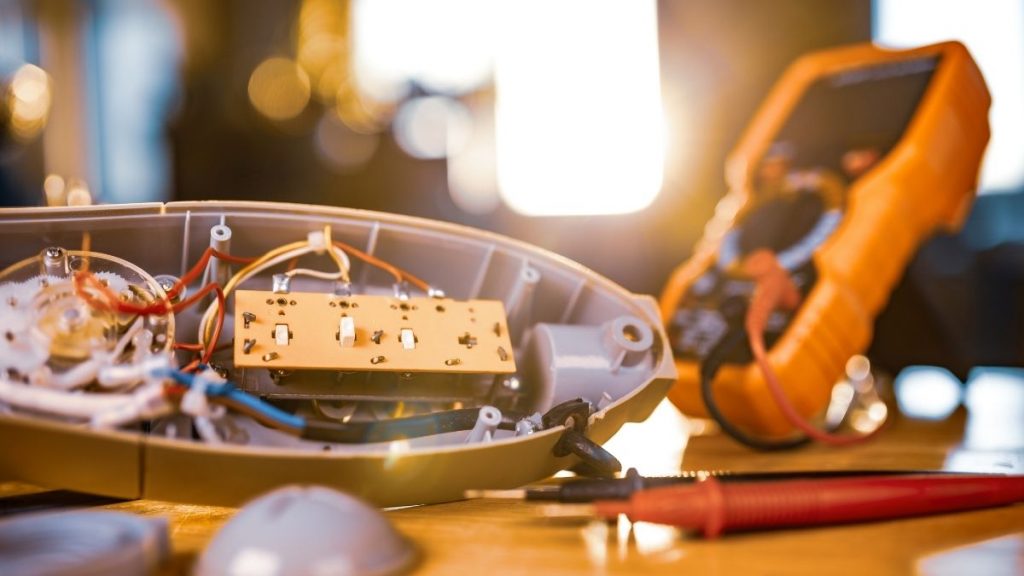
Set your digital multimeter to a minimum value of ohms (Ω) using the knob. Use the manual that comes with it for help.
Now take the black and red probes of the meter and touch one probe to the first screw of the heating element and another probe to the second screw.
Notice the reading. If the reading is between 10-16 ohms then it means the element is good and working. But if reading is very low or very high then it means the element has gone bad and needs to be replaced.
Conduct the same test for the second element.
Step #5 Conduct a short circuit test with the help of a multimeter
Another test that you should do is the short circuit test. It tells if the water heater is shorted.
Set your multimeter to the minimum value of voltage using the knob. Touch one probe to a screw of the heating element and another probe to the metal sheet of the tank. If there’s a reading on the meter then the element is shorted. Do the same procedure with another screw and then the second element.
Optional Step #6 Test water heater element with a continuity tester
You can also do a continuity test with the help of a continuity tester. It’s a simpler test. Take one probe of the tester and touch one screw of the element and another probe to the second screw. If it lights up on the tester then the element is good otherwise broken.
Similarly, you can perform a short circuit test. Touch one probe to the screw of the element and another probe to the metal part of the tank. If it lights up then it’s a short-circuit and needs replacement. Perform the same step for another screw and then the second element.
Steps: How to install/replace hot water heater element
Now that if you found out that one of your heating elements is actually bad using the tests above then the next step is to replace it. Let’s do this task.
Tools and material required
- New heating element of the same wattage as previous
- Screwdriver
- Special heating element wrench
- Garden hose
You should be able to find all of this thing in your nearest hardware store (I also have provided Amazon links to them). The heating element should have wattage printed on it. Buy new of similar specifics. If it’s not printed then research details of the heater model online.
Step#1 Drain the tank
Before removing the heating element, we need to empty the tank. Close the cold water valve and open a hot water faucet. Now take the garden hose and connect it to the drain valve located at the bottom. Another end of the hose to the drain. Open the drain valve and let all water drain. Close the valve and remove the hose once done.
Step #2 Removing the bad heating element
Based on findings, it’s time to remove the bad heating element. Take your special heating element wrench and fix it on the bad element. With the help of a screwdriver, torque it out.
Step #3 Install the new heating element
Now you have removed the element, it’s time to fix the new one in place. Put it in the place and tighten it back into the place.
Connect the wires back in their place to the heating element. Wire terminals don’t matter.
Step #4 Reassemble the panels
Now that you have installed the element it’s time to put things back in. Put the insulation and then panel in the and screw tight it.
Step #5 Open the supply
Open the cold water valve and let the tank fill first. Then resume the electric supply to the water heater. It should take a few hours before the water gets hot.
Popular Questions
What size is a water heater element wrench?
Most water heater element requires a wrench with size 1-1/2″. It’s a standard size that should fit all the heating elements of all models.
How to remove water heater element without element wrench?
If you can’t get access to the heating element wrench then you can utilize a 38mm socket to remove the heating element.
Does it matter which wire goes where on a hot water heater element?
No, it doesn’t matter which wire goes where in the heating element. Terminals of the element don’t matter. Just make sure to tighten the wires into the screw properly.
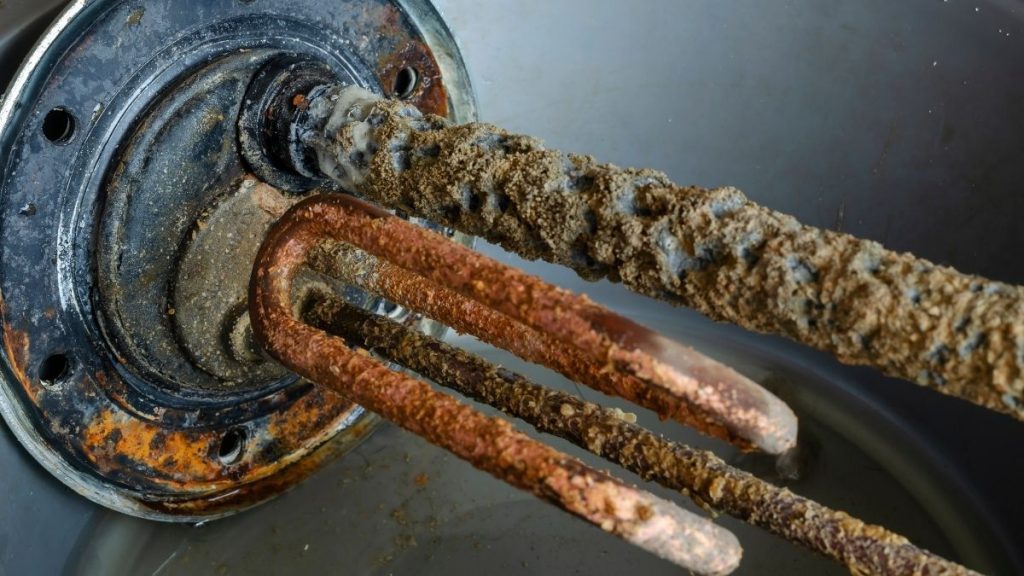
What does a bad water heater element look like?
Apart from being corroded and rusted, we first do a continuity or ohm test before removing the element. If the heater has resistance in the range of 10-16 then the element is working if it has very high or very low resistance then the element is bad.
How to remove stuck water heater element?
It’s possible the water heating element gets stuck due to rust. You can apply the rusting removal solution and let it sit there for a while. Make the mixture of 50% vinegar and 50% water in a small cup and pour a small amount on the element seam. Let it sit there for 30 minutes. The element should be freed now.
How to test the water heater element with a continuity tester?
Connect one probe of the tester to the first screw of the element and another probe to the second screw. If it lights up then the element is working and good. Otherwise, it’s broken. Similarly, we can perform the shorted test. Touch one probe of the element to the screw and the other to the metal part of the tank. If it lights up then the element is shorted and needs replacement.
How to check the water heater element with an ohmmeter?
Connect one probe of the ohmmeter to the first screw of the heating element and another to the second screw. If the reading on the meter shows between 10 – 16 ohms then the element is good and working. Reading being very low or very high means the element is bad.
Conclusion
Testing hot water heater elements, finding out the bad element, and replacing it can be a simple DIY task if you know a thing or two about electrics. It could save you hundreds of dollars of electrician charges. Hopefully, this guide will help you out with doing the task. If in doubt or unsure it’s better to call a professional after all safety comes first and you are dealing with 240 volts. If your water heater is rusted or leaking then it might be time to replace the water heater itself. Check out the best whole house electric tankless water heater here.