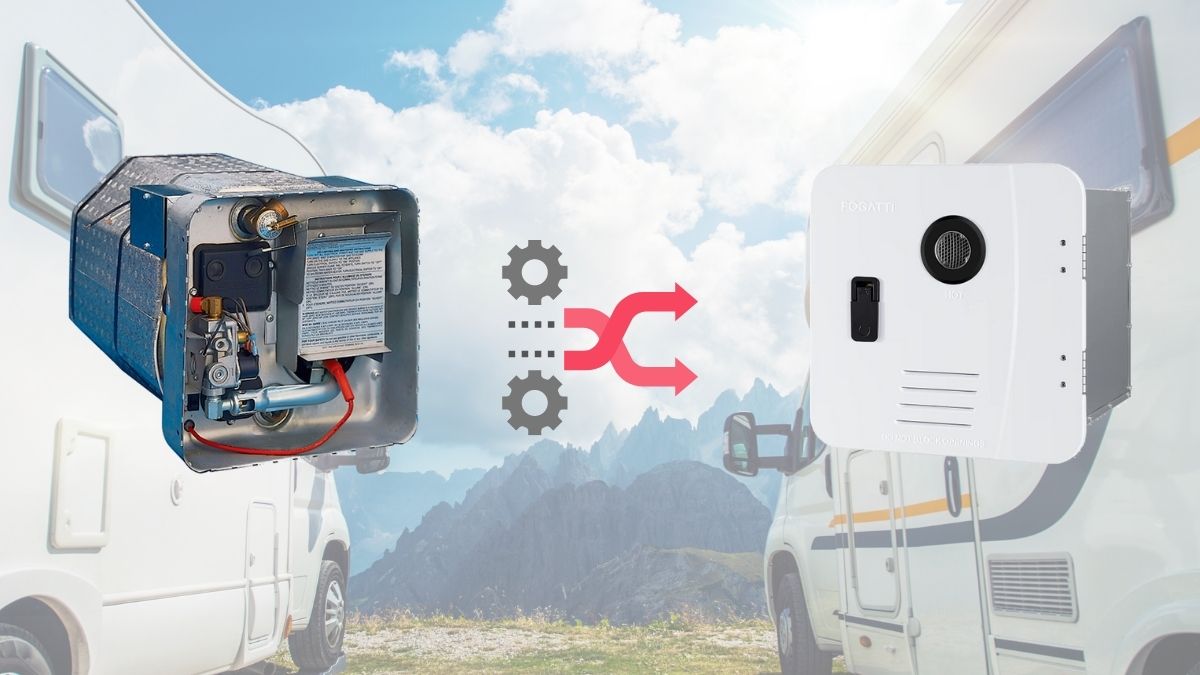
8 Step Guide: How to Convert RV Water Heater to Tankless

Want to know how to convert an RV water heater to tankless?
RVing is a cool trendy lifestyle. Some people do it full time to travel across the country and continent while others enjoy holidays. These compact mobile homes usually have all features of a conventional house.
But one thing that keeps reminding most people of not being at home is the short Navy-style showers they have to take because their small RV water heater can’t provide enough hot water.
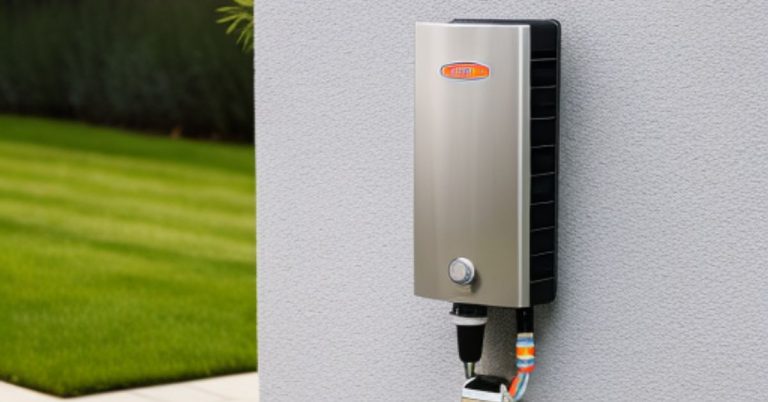
Wanna feel like being home or at least want to enjoy a normal shower? Switch to tankless RV water heaters and enjoy long showers.
This guide will discuss converting an RV water heater to a tankless water heater. Most water heaters are installed on the outer panel or outer side of the RV and I’m assuming the same thing with your RV here.
If you haven’t already, choose the best tankless water heater for RV from here as per the space available for installation.
Now before we start the conversion from your RV water heater to tankless, there are a few tools and materials you will need.
The preparation
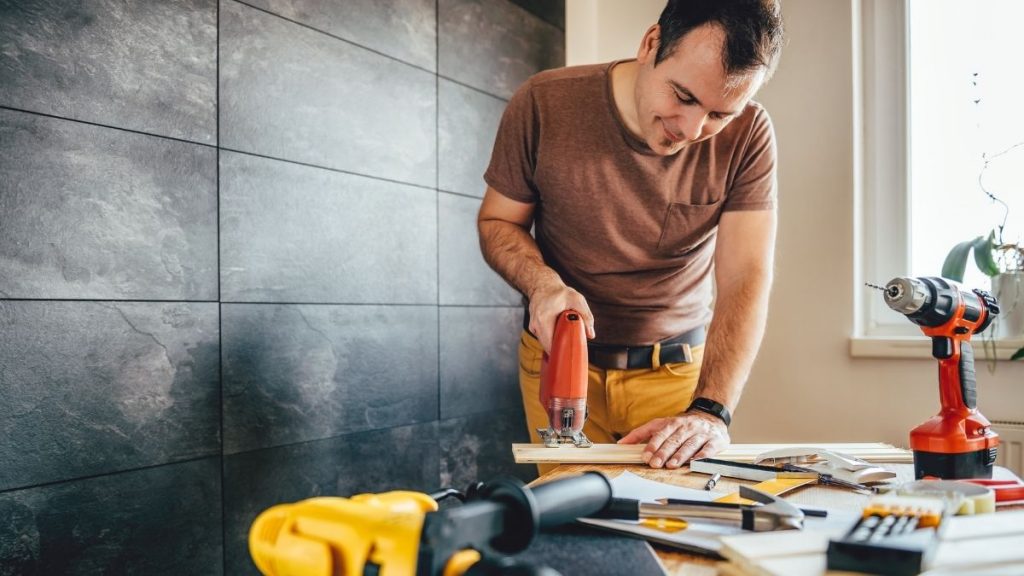
To keep the transition process smooth, methodical, and convenient you will need a few tools including a cordless small drill machine with screwdriver bits, a wrench, a chisel, a hammer, and a plier. You will also want to have caulking for sealing and waterproofing.
8 Steps: How to convert RV water heater to tankless
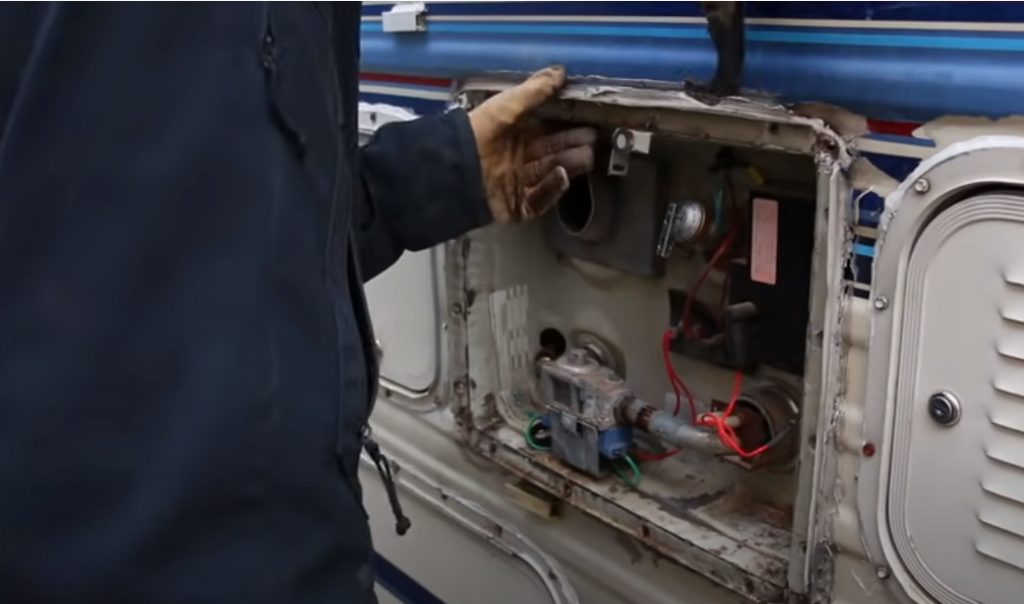
1. Disconnect the supply and connection
First of all, off the water, electric, and gas supply to the RV water heater. It’s an important step. Once you have made that sure, the next move is to disconnect all supply lines and wires.
There will be an electric supply wire, gas supply line, and water inlet and outlet lines. In total, there will be at least 5 connections. Carefully remove them all.
If the wires and connections are not properly color-coded already then you will want to take picture of them before removing them so you won’t get confused later.
2. Time to remove the RV water heater
Now that hopefully, you have disconnected the water heater without any problem, what we are gonna do next is to remove the unit from the recess completely. This is a bigger task and that’s okay if it takes some time for you.
Open the outer door or unscrew it with the help of the drill. Remove the waterproof caulking from the edges of the door with the help of a chisel. Be careful not to damage the RV wall or the paint.
Then remove the screws of the mounting flange that’s keeping the water heater in its place with the help of a drill machine. Now use the chisel to remove the caulking and get the unit out of its rabbit hole.
3. Clean and prepare the installation location
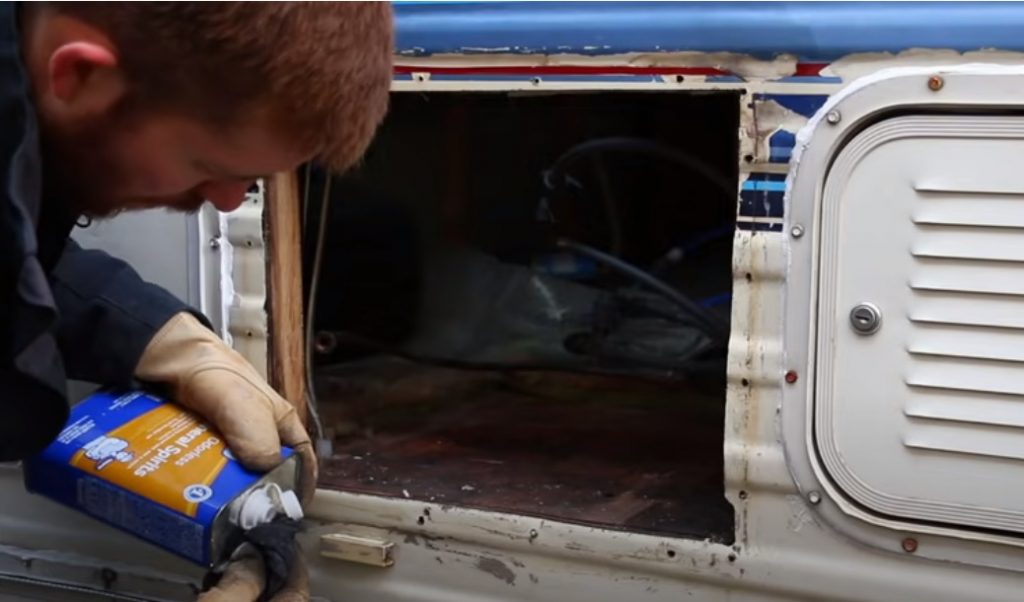
We have freed the connections. And we have removed the old water heater. What we are gonna do now is to clean this location of installation. (I’m expecting you to have chosen a tankless water heater model with dimensions that fit in this place.)
So now grab your chisel and remove all the remaining caulking from the floor. You can use a caulking dissolvent to remove it. It’s important to our new installation can get a proper grip.
Get rid of all the dust and you are ready for the next step.
4. Installing a new tankless RV water heater
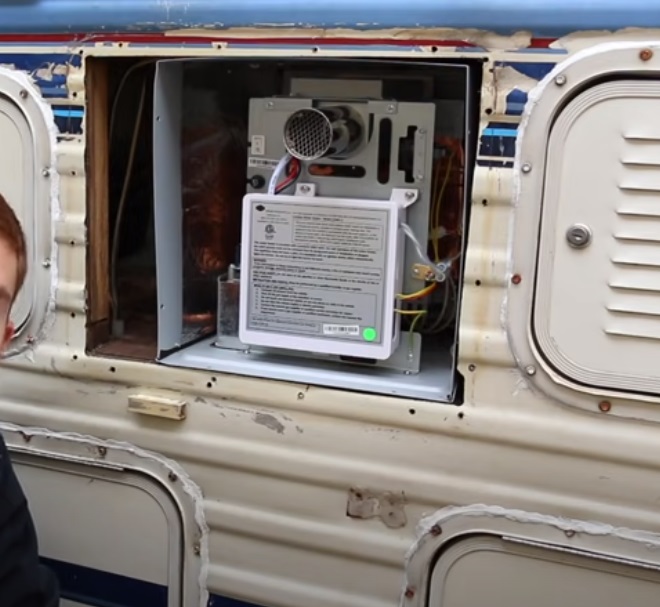
Unbox your new tankless water heater and go through the manufacturer’s manual for any installation procedure.
Put the water heater in the base hole with the vent pipe of the heater facing outside. Keep the unit as near the door as possible but not so much that the door won’t close. This is to ensure that flue gases can easily vent outside. Try to fit it into the old screw holes but chances are you may still have to drill some new holes so do that. Properly mount the water heater on the surface of the RV. Use the caulking to seal the mounting.
Next is to close the door and screw tighten it. The door hole should properly face the vent pipe of the heater or you will have to buy one that’s made for that heater model. And finally, seal the door edges with caulking so moisture can’t get in.
5. Reconnect the lines
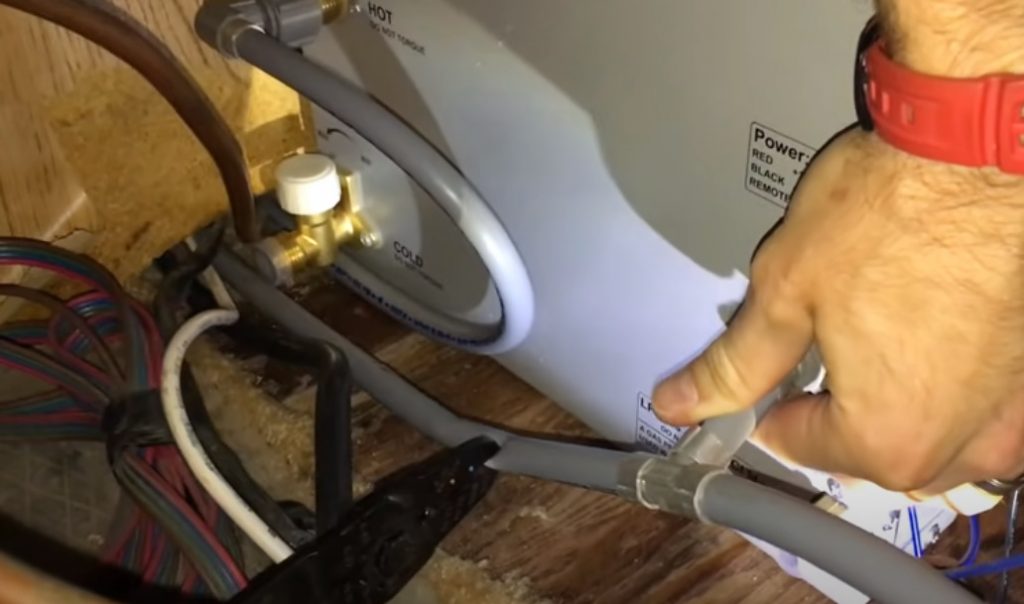
The final step in the installation is doing the connections. First, properly connect the water inlet and outlet lines to the inlet and outlets of the unit. Connect the red electric wire to the park and the black to the ground.
Get the propane gas line connected. Do not over-torque the connections as they can break.
6. Check the gas connection for leakage
It’s important to check if the gas line is connected properly and not leaking. So get some soapy water. Resume the gas supply of the heater and put some soapy water on the gas connection you just made. If no bubbles blow then the connection is secure and you can move on to the next step which is to
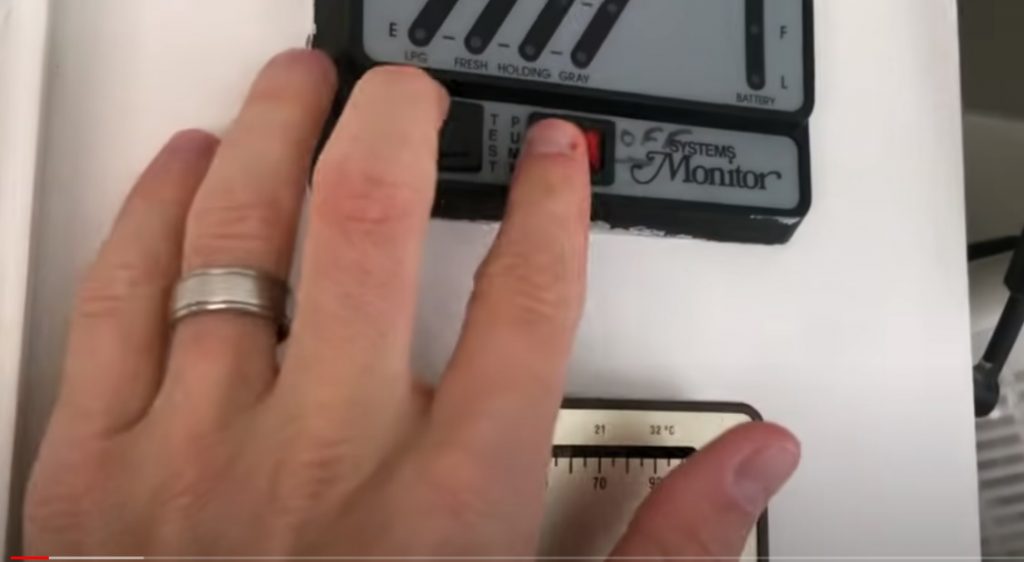
7. Install the control panel
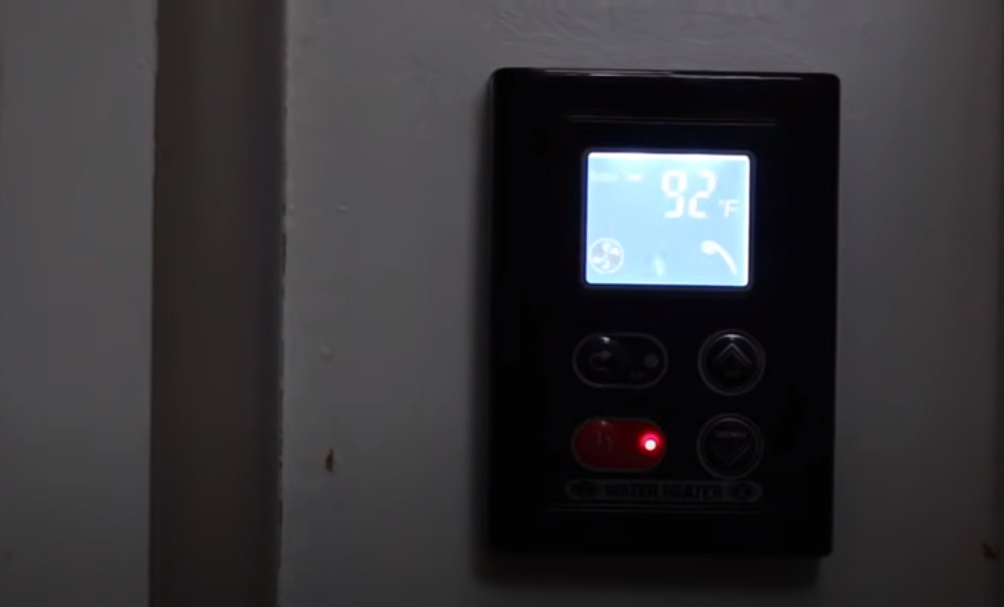
Now what’s left is to install the temperature and other parameters controlling panel. Mount it on the wall where it’s easier to access. Usually, you will install it on the base. Resume the electric supply to the unit. Dial in some desired temperatures on the control panel.
8. Test the functionality
Now that everything is done and what’s left is to check the fruit of our hours of DIY labor.
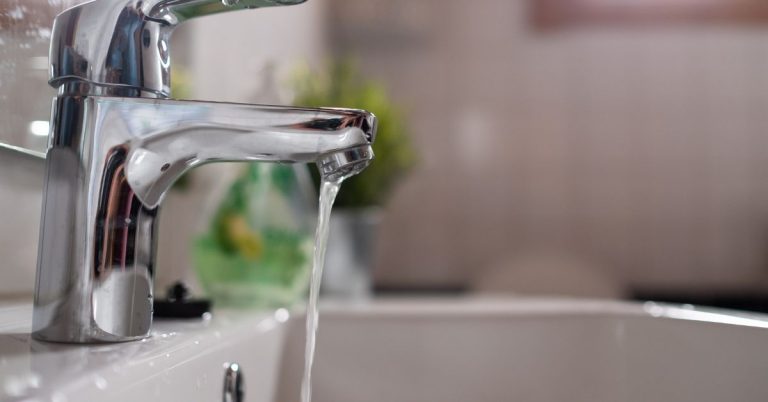
Open your kitchen sink and check the water. It’s possible you will get cold water for the first few seconds but hot water should follow soon. If suddenly get cold water after a few minutes then it could be due to one of these reasons.
That’s it, you have just finished a huge DIY project! Pat yourself. If the hot water doesn’t come then check another tap or shower. If you still get no hot water then check all connections are properly made and the unit is running.
Top reasons to convert RV water heater to tankless
More available hot water
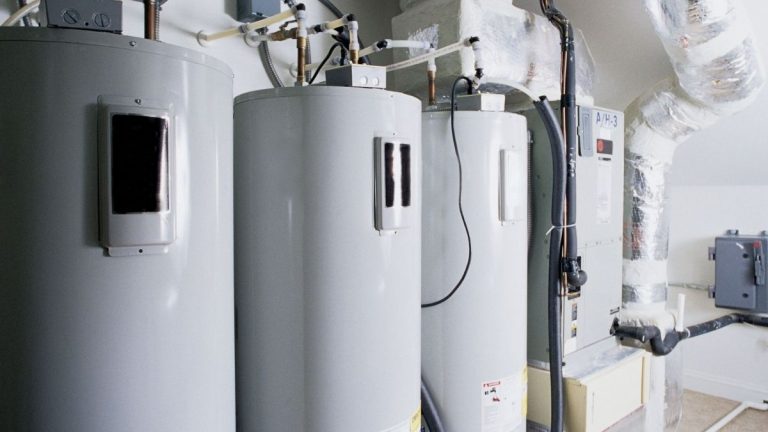
Most RV water heaters have a capacity of upto 10 gallons which is okay for 1-2 people but not for a whole family living or holidaying in a mobile home.
Tankless water heaters don’t store hot water, instead, it instantly heats and provide unlimited hot water. If properly sized, you can take back-to-back showers without having to wait for a tankful of water to get hot. Here’s the tankless sizing guide for starters.
Compact and saves space
Space is the luxury of RVs and, camping mobile vehicles. So why waste space for a huge tank of water when you can go tankless and get tonnes of other advantages as well in the process? Usually, tankless water heaters are 1/10 of the tank heater size.
Energy and money-saving
Tank water heaters have to heat and then keep the water hot all the time and 24/7. It takes a lot of energy that only goes wasted.
Tankless water heaters use energy only when hot water is needed. The on-demand water heaters are at least 30% more energy efficient.
Cleaner, fresher, safe hot water
We do not just use our hot water for bathing but also for cooking and drinking. Tank water heaters are prone to bacterial growth when the water temperature is set under 105°F. This can be harmful to your health and make you sick.
Tankless water heaters, on the other hand, store no water and thus have no risk of bacterial growth. You get fresh and healthy hot water.
Installation image credits: Duet Justus.